
I will do my best a giving more specific directions this time.
Items you will need:
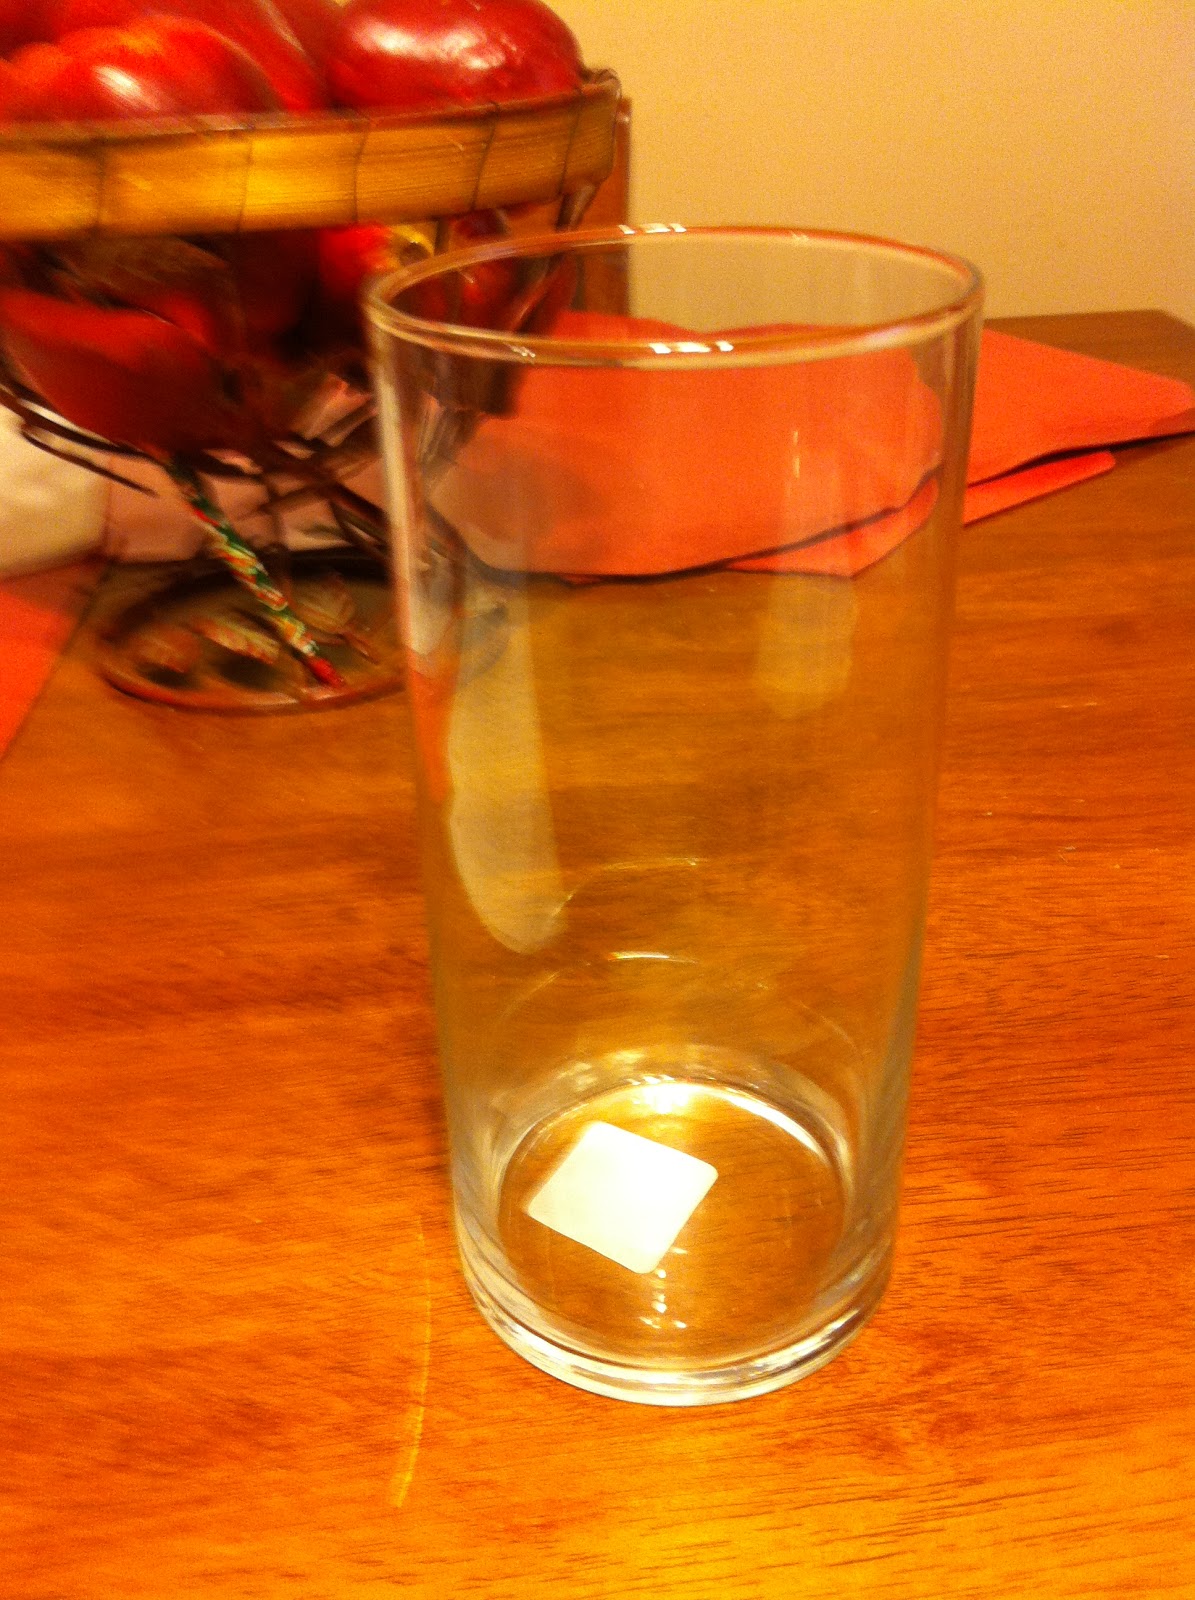
A regular smooth glass vase (I purchased mine at Walmart for .97)
tea light candles (any short candle will work best)
Elmer's spray adhesive glue
Modge Podge (I used the aresol spray in a Matte finish)
Vellum (purchased in the stationary section at Walmart)Printer with black ink
Picture editing software (optional)
Something to cut with (I used a rotary cutter)
Popsicle stick (can use something of the same stature if needed)
(Main items used are pictured below)

Step 1: Edit picture with computer software if desired. I made mine into a black and white photo, but I am sure you could use color photos if desired. I added a quote I found on the internet to the opposite side of the same picture page. This needs to be one complete sheet, so that it will cover the entire vase. The size of picture you use depend on the size of vase you use. I also used the picture software to size the picture to match the height of my vase.
Step 2: Print to the vellum. THIS VERY IMPORTANT.... Allow the picture to dry before touching. It takes a little longer to dry compared to a regular piece of paper.
Step 3: Using a rotary cutter or scissors, trim the picture to wrap around the vase in 1 complete sleeve.
Step 4: Spray the Elmer's glue to the back side of the picture and adhere to the vase. This is where the popsicle stick may come in handy. Use the popsicle stick or something similar to smooth picture moving out the air bubbles. LET THE GLUE DRY COMPLETELY.
Step 5: Spray the outside of the entire vase/picture with Modge Podge to seal entirely. Let Dry completely again. DO NOT TOUCH the outside before drying. It will result in visible fingerprints on the final project. This step may take a few hours.
Step 6: Now that the vase is dry insert a small candle. Since the picture is sealed the heat will not harm the photo. I purchased candles at my local dollar store that were slightly taller then a tea light. I use the smaller candles to illuminate the pictures better. The taller the candle the more shadow it put on the picture once it was lite.
I hope these directions are a little more helpful. I really enjoyed the reactions I received when I gave these as a gift. They are so much more personal then most things and now there are precious memories preserved for as long as you have the candle.


